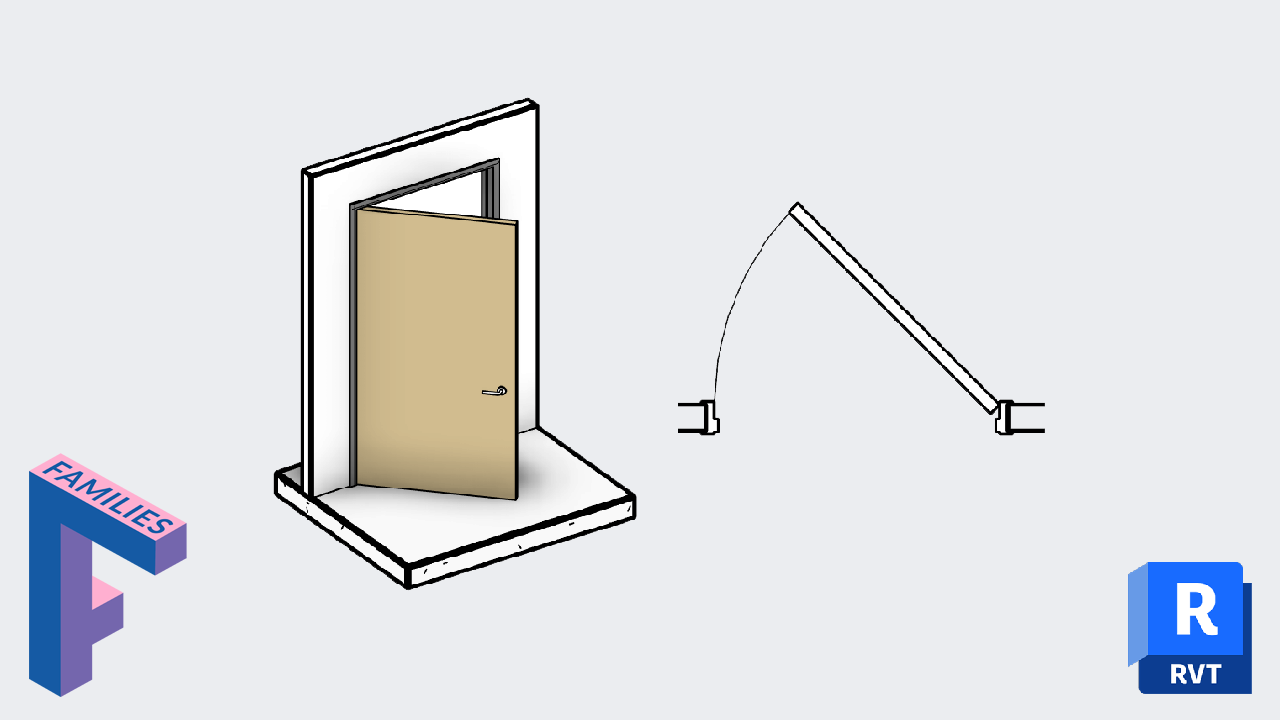
17 Steps to Create a Customizable Door Plan Swing in Revit
Aug 11, 2019

The 2D plan swing of a door family should be created in a separate nested family. This way, you can reuse the family for all doors you create. In this next tutorial, you are going to learn how to create a plan swing family from scratch. This family is made so you can assign any swing angle you wish to use. You can watch the entire tutorial in this video:
This is the third post in our series about doors. Make sure you consultethe previous blog posts on this topic:
9 Steps to Renumber Doors by Room Using Dynamo
Fixing Nested Plan Swing Visibility in Revit Door Families
Create a new Revit family using the Metric Generic Model family template. Of course, you can use imperial if you prefer.

Go to the Family Category And Parameters menu. Switch the family from the Generic category to the Door category. A couple of new parameters like width and thickness will be created automatically.

Go to the plan view of the family. Create a new reference plane to the left of the existing vertical reference plane. Create a dimension between the two vertical reference planes and assign the Width parameter.

Anytime you want to use an angle parameter inside Revit, you need to create a reference line. Create it along the reference plane on the right, with the first point at the intersection of the reference planes. Then, use the Align tool (shortcut: AL) to align the end point of the reference line to both reference planes. You will have to use tab to toggle among all the options. Click on the lock icon.

Create a dimension to link each endpoint of the reference line. Assign the width parameter to the dimension. Then, create an angle dimension between the horizontal reference plane and the reference line. Create a new instance parameter for the angle value. Call it “Swing Angle” and use the Graphics category for grouping. Lock all dimensions.

Angle values with reference lines can sometimes be buggy. To make sure everything works fine, change the Actual Angle to test a few different values. Make sure to try the important 90, 180 and 270 values along with a few random angles.

Create 3 more reference lines to match the outlines of the door in plan view. Add a “thickness” dimension label. Then, add angle dimensions between each reference line. They should all be 90. Lock them all.

Go to the “Annotate” tab and select the “Masking Region” tool. Select the Panel [cut] line style. Use the Pick Lines option and click on each reference line. Make sure to click on the lock icon. Warning: the first line you pick should be the reference line at the bottom/left in the image. Then, pick and lock the small lines and finally the original reference line. For unknown reasons, you will get problems in your family if you don’t respect this creation order.
Click the green check to complete. Again, you should test multiple angles to make sure the family works.

In the Manage tab, click on Object Style. Create a new door model subcategory called “Plan Swing.”

Go to the Annotate tab and select the Symbolic Lines tool. Create an arc line using the new Plan Swing [projection] line style. Use the Center-ends arc draw option. Click once at the intersection of the center reference planes, then again at the left reference plane and finally click on the reference line current position.


The arc line is now created. Select the line and activate the Center Mark Visible parameter in the instance properties. Align the center mark of the arc line to both reference planes and lock.

You need a 3rd and final alignment to the arc line. Align the endpoint of the arc line to the horizontal reference plane and lock. Be careful: never align the arc line to the door panel reference line.

Assign the Width parameter to the radius of the arc line. Then, select the arc line and click on the temporary angle dimension icon to create a permanent dimension. Assign the Actual Angle instance parameter. Lock everything up.

If you enter a plan swing angle value of less than 1°, the arc line won’t be able to draw and the family will bug. To avoid this issue, you need to create a formula to make 1° the minimum possible angle value.
Start by creating a new parameter called “Swing Angle”. It is an instance parameter grouped in the Graphics category.

Go to the family type. In the formula for “Actual Angle”, use the following formula: if(Swing Angle < 1°, 1°, Swing Angle). Basically, it means that if the Swing Angle is below 1°, the Actual Angle value will revert back to 1°. For a value above 1°, nothing will be changed.

Keep in mind: Swing Angle is the value users will manually enter. Actual Angle is the value that actually affects the family components.
Hey can you believe the family is finally done? This is definitely a tricky family to create. But the good new is that once you are done, it can be reused for many more door families.
Save the family. Time to nest it inside the main door family.
Load the swing family into the main door family you want to use. Place an instance of it in plan view. Then, lock the nested family reference planes to the main family reference planes as described in the image below. Lock the alignments.

Select the door swing family and click on Edit Type. Click on the small rectangle for both Width and Thickness. Match the parameters.

You also need to assign the Swing Angle parameter. This one is an instance properties. Leave the type menu and check out the Door Swing family instance properties. Click on the small rectangle next to the Swing Angle value. Create a new parameter with the exact same settings as the original one.

Are you going to use the door family for 3D views and renderings? If so, it might be an interesting idea to match the actual 3D door panel to the door swing family’s angle. This way, the doors can be opened in the renderings.
To achieve this, use the Pick Lines draw option and pick all the reference lines from the nested family. No need to assign parameters. Make sure to lock the top of the extrusion to the top reference plane of the family in an elevation view.

Everything is supposed to be complete! Time to test it. Don’t insert the door into an ongoing project. Instead, create a dummy “test” project where you can mess around without being scared of ruining important work.
Try many angles and configurations.

Good news: the door swing is the most complicated door family to create. Everything else is much more simple.

We’ve got bonus content for you. Want to add an optional diagonal line to your plan swing for existing doors? Learn how to do it in our brand new pamphlet about Doors. Pamphlets are published 4 times a year and contain tons of tips about a specific Revit topic. It’s all free.
Enter your details below to get this free guide.